Chocolate Marble Snack Cake
Highlighted under: Sweet Craft
I love whipping up a Chocolate Marble Snack Cake when I want to satisfy my sweet tooth without too much fuss. The combination of rich chocolate and fluffy vanilla cake creates an irresistible treat that is perfect for snacking. It's also a great way to impress guests with minimal effort. With this recipe, I’ve found the perfect balance of flavors and textures that work beautifully together. Plus, making it is a breeze with quick prep and bake time!
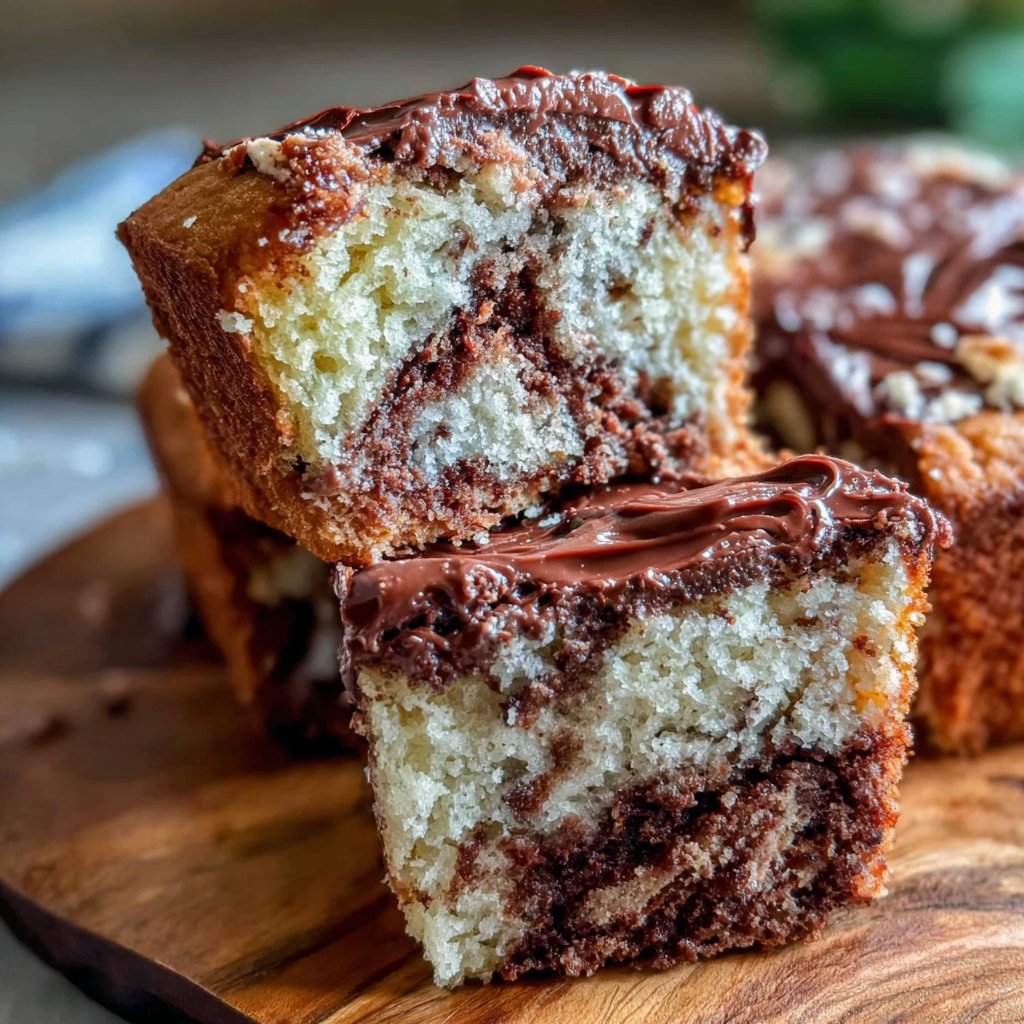
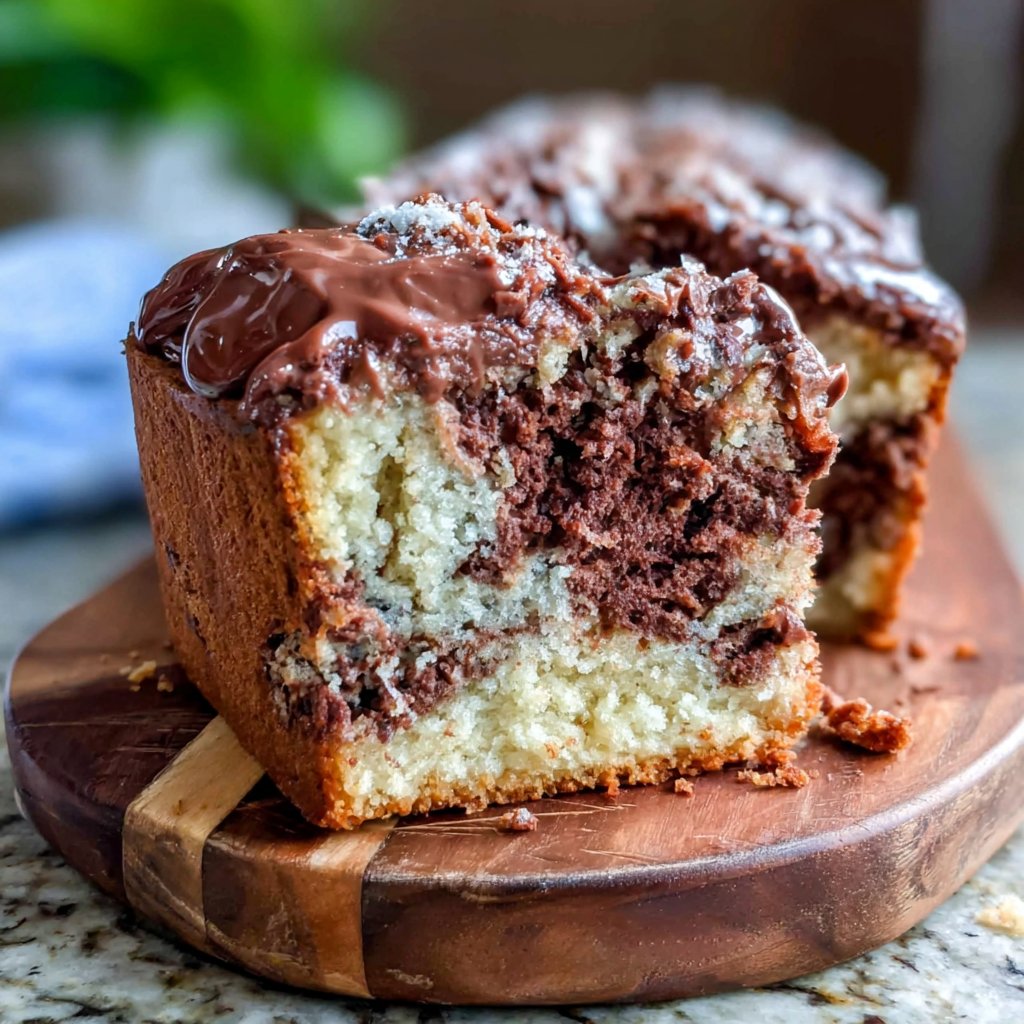
Making this Chocolate Marble Snack Cake was an incredibly rewarding experience for me. I decided to give it a whirl during a rainy afternoon, and the aroma that filled the kitchen was intoxicating. I particularly enjoyed swirling the chocolate batter into the vanilla base—it creates such a beautiful, marbled effect that looks almost professional!
One noteworthy trick I discovered is to marble gently; if you swirl too much, the colors blend together and lose that gorgeous contrast. I found that using a skewer for the marbling made it easy to control and achieve the perfect look.
Why You'll Love This Recipe
- Rich chocolate flavor perfectly balanced with a light vanilla cake
- An eye-catching marbled design that’s easy to achieve
- Perfect for any occasion, from casual snacking to dessert tables
Understanding the Ingredients
The choice of ingredients is crucial for achieving the perfect texture and flavor in your Chocolate Marble Snack Cake. The soft unsalted butter should be at room temperature, blending seamlessly with sugar to create that light and fluffy batter. Using fresh eggs also enhances the cake's structure; they provide moisture and richness that make each bite tender. If you're out of unsalted butter, you can substitute it with an equal amount of margarine, though the taste may vary slightly.
Cocoa powder plays a significant role in the chocolate batter's richness. For the best results, opt for high-quality unsweetened cocoa powder, which contributes a deep, intense flavor. Dutch-processed cocoa can be used for a milder taste, but remember to adjust the baking powder since it reacts differently. It's also a great option if you want a cake that's less acidic. Keep these nuances in mind for an optimal cake experience.
Mastering the Marble Effect
Creating that eye-catching marbled design can be intimidating, but it's simpler than you think! When spooning the chocolate batter over the vanilla, aim for a gentle layering—this will allow for easier swirling without breaking the base layer. I recommend using a knife or a skewer; dip it halfway through the batter and twist gently to create the marbling. Avoid overmixing, as it can lead to a uniform color rather than the striking contrast you want.
If your batter feels too thick when swirling, you can add a tablespoon of milk to loosen it slightly. Additionally, taking care to not disturb the layers too much while swirling will help maintain distinct sections of chocolate and vanilla, creating that visually appealing effect. Patience is key here, and the results will be well worth your time, turning a simple snack into a showstopper.
Storage and Serving Suggestions
Once your cake has cooled, store any leftovers in an airtight container at room temperature for up to three days. If you want to extend its shelf life, consider freezing individual slices. Wrap each slice tightly in plastic wrap and then in aluminum foil to prevent freezer burn, and they can last for up to three months. To thaw, simply leave it at room temperature for about an hour before enjoying, restoring that freshly-baked flavor.
For serving, I love to enhance the flavors with a light dusting of powdered sugar on top. Pair it with a scoop of vanilla ice cream or a dollop of whipped cream for an indulgent treat. If you're feeling adventurous, try adding some fresh berries or a drizzle of chocolate sauce for added flair. The versatility of this cake makes it a fitting choice for both casual and festive occasions.
Ingredients
Gather these ingredients to prepare your Chocolate Marble Snack Cake:
Cake Ingredients
- 1 ½ cups all-purpose flour
- 1 cup granulated sugar
- ½ cup unsalted butter, softened
- 2 large eggs
- 1 teaspoon vanilla extract
- 1 cup milk
- 1/3 cup cocoa powder
- 2 teaspoons baking powder
- ½ teaspoon salt
Make sure all ingredients are at room temperature for the best results.
Instructions
Follow these steps to create your Chocolate Marble Snack Cake:
Prepare the Batter
Preheat your oven to 350°F (175°C). In a large bowl, cream together the softened butter and sugar until light and fluffy. Add the eggs one at a time, mixing well after each addition. Stir in the vanilla. In another bowl, combine the flour, baking powder, and salt.
Mix the Ingredients
Gradually add the dry ingredients to the wet mixture, alternating with the milk. Mix until just combined. Reserve 1 cup of the batter and stir in the cocoa powder to create the chocolate batter.
Creating the Swirl
In a greased 9x13 inch baking pan, pour the vanilla batter first. Spoon the chocolate batter over the vanilla, then use a knife to gently swirl them together for a marbled effect.
Bake the Cake
Bake for 30 minutes, or until a toothpick inserted into the center comes out clean. Let cool before slicing and serving.
Enjoy the cake warm or at room temperature!
Pro Tips
- For added flavor, consider mixing in chocolate chips into the chocolate batter. Ensure that the cake is fully cooled before cutting to avoid crumbling.
Troubleshooting
If your cake rises unevenly, it could be due to overmixing the batter or insufficient baking powder. Ensure that the dry ingredients are gently folded into the wet mixture until just combined. Also, consider checking the freshness of your baking powder; it should be bubbly when mixed with a bit of warm water to verify its potency.
Overbaking is another common issue. Keep an eye on your cake in the last 5-10 minutes of baking. The edges should turn golden brown, while the center still looks slightly moist. A toothpick inserted into the center should come out clean or with just a few crumbs attached—this is your cue to take it out of the oven.
Dietary Substitutions
If you're looking for a dairy-free version of this Chocolate Marble Snack Cake, feel free to substitute the butter with coconut oil or a plant-based butter alternative, and use almond or oat milk in place of cow's milk. These swaps will retain the cake's moisture while catering to dietary preferences.
For a gluten-free option, replace the all-purpose flour with a gluten-free flour blend designed for baking. Just keep in mind that the texture might be slightly denser, but the marbling effect and flavor will still shine through, making it suitable for everyone at the table.
Questions About Recipes
→ Can I use whole wheat flour instead of all-purpose flour?
Yes, but the texture may be denser.
→ How long can I store the cake?
It can be stored in an airtight container for up to 4 days at room temperature.
→ Can I freeze the snack cake?
Absolutely! Wrap it well and store it in the freezer for up to 3 months.
→ What can I serve with the cake?
It’s delicious on its own, but a scoop of vanilla ice cream or a drizzle of chocolate syrup works wonderfully too!
Chocolate Marble Snack Cake
What You'll Need
Cake Ingredients
- 1 ½ cups all-purpose flour
- 1 cup granulated sugar
- ½ cup unsalted butter, softened
- 2 large eggs
- 1 teaspoon vanilla extract
- 1 cup milk
- 1/3 cup cocoa powder
- 2 teaspoons baking powder
- ½ teaspoon salt
How-To Steps
Preheat your oven to 350°F (175°C). In a large bowl, cream together the softened butter and sugar until light and fluffy. Add the eggs one at a time, mixing well after each addition. Stir in the vanilla. In another bowl, combine the flour, baking powder, and salt.
Gradually add the dry ingredients to the wet mixture, alternating with the milk. Mix until just combined. Reserve 1 cup of the batter and stir in the cocoa powder to create the chocolate batter.
In a greased 9x13 inch baking pan, pour the vanilla batter first. Spoon the chocolate batter over the vanilla, then use a knife to gently swirl them together for a marbled effect.
Bake for 30 minutes, or until a toothpick inserted into the center comes out clean. Let cool before slicing and serving.
Extra Tips
- For added flavor, consider mixing in chocolate chips into the chocolate batter. Ensure that the cake is fully cooled before cutting to avoid crumbling.
Nutritional Breakdown (Per Serving)
- Calories: 250 kcal
- Total Fat: 10g
- Saturated Fat: 6g
- Cholesterol: 55mg
- Sodium: 150mg
- Total Carbohydrates: 36g
- Dietary Fiber: 1g
- Sugars: 18g
- Protein: 4g