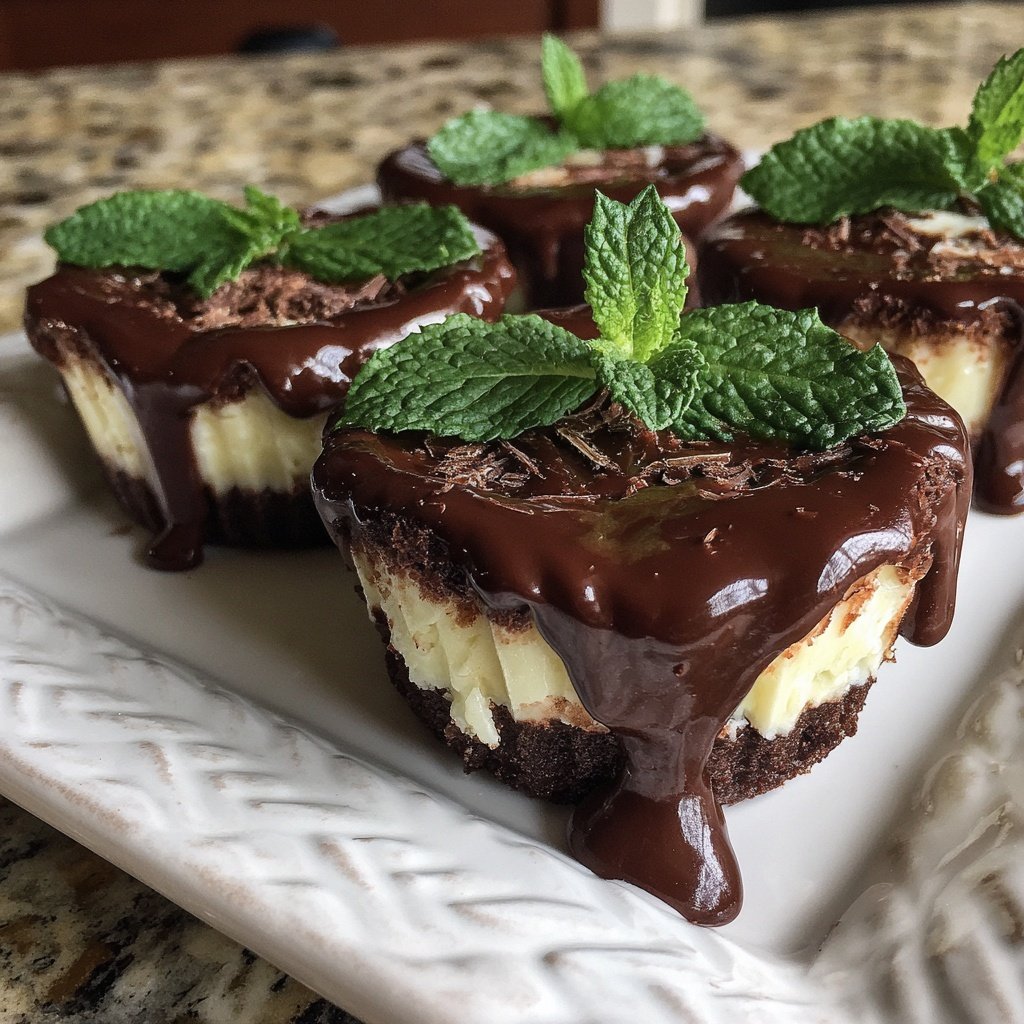
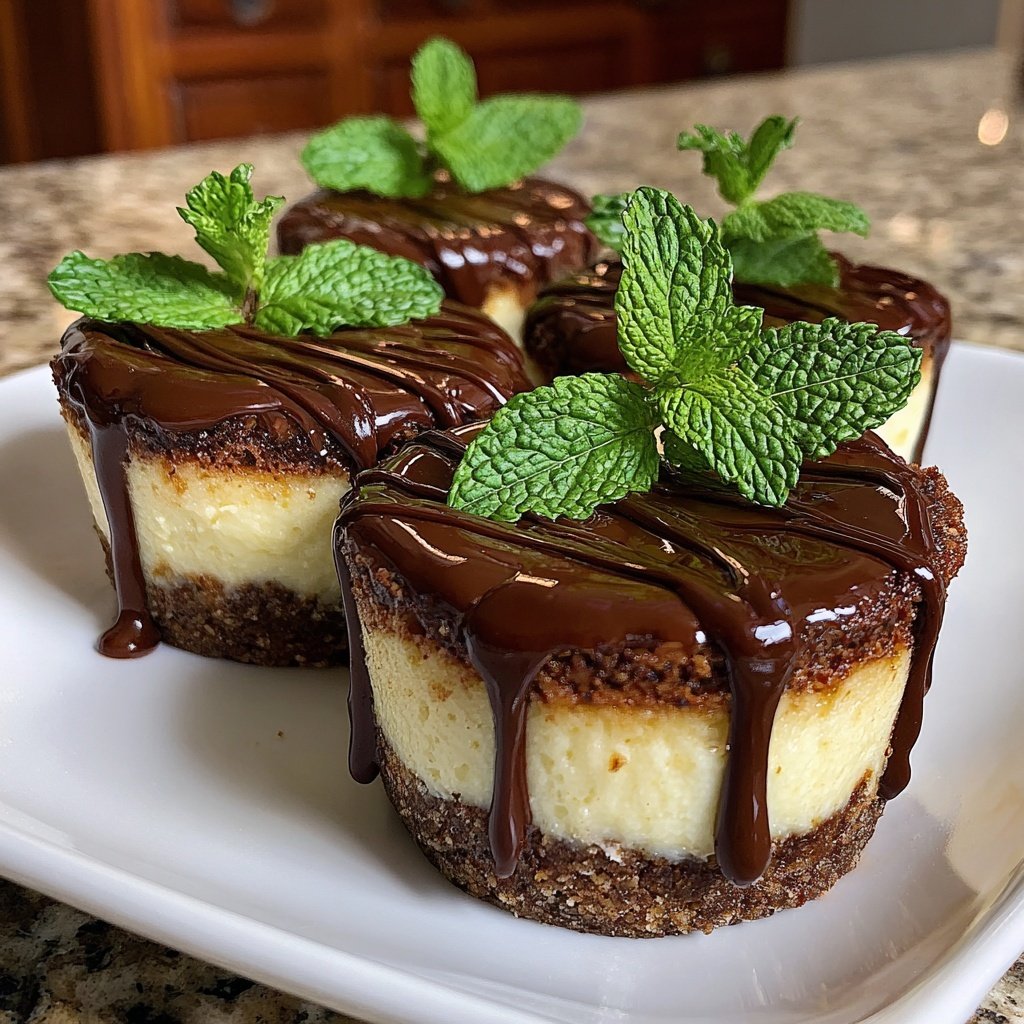
Chocolate Mint Dessert Cups
Highlighted under: Sweet Craft
I absolutely love making Chocolate Mint Dessert Cups, especially when I want to impress guests with something indulgent yet simple. The fusion of rich chocolate and refreshing mint creates a delightful contrast that tantalizes the taste buds. What I cherish about this recipe is how quick it is to prepare, requiring just a handful of ingredients. Each layer is built to perfection, resulting in a treat that’s not only visually stunning but also incredibly satisfying. Perfect for celebrations or as a sweet personal indulgence, these dessert cups are a must-try!
When experimenting in the kitchen, I stumbled upon the perfect balance of flavors with these Chocolate Mint Dessert Cups. By incorporating peppermint extract right into the chocolate mixture, I found that it added a refreshing twist that elevates the dessert from ordinary to extraordinary. The key is in the layering; I always ensure that the chocolate layer is allowed to set slightly before adding the mint layer, creating an appealing visual contrast.
One trick I learned is to use high-quality chocolate, which truly makes a difference in taste. I often enjoy garnishing the cups with fresh mint leaves or whipped cream for an extra touch. This recipe has quickly become a staple in my dessert repertoire, making any occasion feel special!
Why You'll Love These Cups
- Rich chocolate flavor paired with fresh mint infusion
- Refreshing taste that balances sweetness beautifully
- Visually appealing presentation for any gathering
Mastering the Chocolate Layer
The chocolate layer is where the rich, indulgent flavor begins. When melting the dark chocolate chips and heavy cream, it's crucial to heat the mixture in short bursts. This helps to prevent overheating, which can lead to a gritty texture if the chocolate seizes. Ensure you stir thoroughly after each interval until it's glossy and smooth. If you're in a pinch, you can substitute chocolate chips with any high-quality chocolate bar—just chop it finely for even melting.
Adding peppermint extract to the melted chocolate infuses that signature minty flavor. However, be mindful of the quantity; a teaspoon is ideal for a balanced taste that doesn’t overpower the chocolate. If you desire a stronger mint presence, consider adding a few more drops, but do it sparingly. Too much can result in an overpowering taste, disrupting the beautiful harmony of flavors.
Once prepared, allowing the chocolate layer to cool slightly before layering is essential. If it's too hot, it may melt the mint layer once added. Aim for a warm but not hot temperature, allowing it to set slightly in the refrigerator for about 10 minutes. This ensures the layers remain distinct, creating a stunning visual contrast in your dessert cups.
Creating the Perfect Mint Layer
The mint layer is all about lightness and fluffiness. Using freshly whipped cream gives a delightful texture that contrasts beautifully with the dense chocolate. Make sure your cream is chilled before whipping for the best results, as this will help it whip up more solidly. Beat it on medium speed until soft peaks form, which should take about 2-3 minutes; if you go too far, it may turn grainy, so keep an eye on it.
Incorporating peppermint extract into the whipped cream not only enhances flavor but also adds a refreshing element that captures the essence of mint. If you're aiming for a vibrant green hue, just a few drops of green food coloring can add a visually appealing touch. It's important to mix gently after adding the coloring, ensuring not to deflate the whipped cream. This will keep your mint layer light and airy.
If you want to adapt this recipe for dietary constraints, consider using a non-dairy whipped topping. Coconut or almond-based options can be used, though they may impart their own flavors. Always check the consistency to ensure it can hold up when layered. For a vegan option, you can also find suitable chocolate chips and heavy cream alternatives.
Garnishing and Serving Tips
Garnishing adds the finishing touch to your Chocolate Mint Dessert Cups. For an elegant presentation, a few fresh mint leaves on top act not only as decoration but also enhance the mint aroma once served. Chocolate shavings can be created by gently scraping a bar of chocolate with a vegetable peeler, resulting in delicate curls that offer an enticing visual appeal. Don't skimp on this step, as it elevates the overall experience of the dessert.
When serving, these dessert cups can be a delightful centerpiece for any gathering, but there's also something satisfying about enjoying them solo. If you’re prepping ahead of time, these cups can be made a day in advance. Just keep them covered in the fridge, ensuring they maintain their freshness. A slight resting period allows the flavors to meld beautifully, making every bite even more enjoyable.
Feel free to experiment with variations! For a twist, consider adding crushed Oreos to the bottom of the cups for added texture and flavor or mixing in crushed peppermint candies into the mint layer for extra crunch. These adjustments can give your dessert cups a unique spin, making them a hit any time you serve them.
Ingredients
Ingredients
Gather these simple ingredients to create your delightful dessert cups!
For the Chocolate Layer
- 1 cup dark chocolate chips
- 1/2 cup heavy cream
- 1 tsp peppermint extract
For the Mint Layer
- 1 cup whipped cream
- 1 tsp peppermint extract
- Green food coloring (optional)
For Garnish
- Fresh mint leaves
- Chocolate shavings
These ingredients will come together to create your indulging dessert cups!
Instructions
Instructions
Follow these simple steps to whip up your Chocolate Mint Dessert Cups!
Prepare the Chocolate Layer
In a microwave-safe bowl, combine the dark chocolate chips and heavy cream. Heat in 30-second intervals, stirring until melted and smooth. Stir in the peppermint extract. Let this mixture cool slightly before layering.
Layer the Chocolate
Spoon the melted chocolate mixture into serving cups, filling them about halfway. Allow the chocolate layer to set in the refrigerator for about 10 minutes.
Prepare the Mint Layer
In another bowl, combine the whipped cream, peppermint extract, and green food coloring if using. Mix until well combined and fluffy.
Assemble the Dessert Cups
Once the chocolate layer has set, add a generous layer of the mint mixture on top of the chocolate. Smooth out the tops with a spatula.
Garnish and Serve
Top with fresh mint leaves and chocolate shavings. Enjoy your Chocolate Mint Dessert Cups immediately or chill in the fridge until ready to serve.
Your delightful dessert cups are now complete! Enjoy every bite!
Pro Tips
- For an extra burst of mint, consider topping each cup with a drizzle of dark chocolate or a sprinkle of crushed mint candies.
Storage Suggestions
If you happen to have leftovers, they can be stored in airtight containers in the refrigerator for up to three days. Just be mindful that the wafer or cookie layers, if used, may become soggy over time. For longer storage, the individual components can be made in advance and frozen separately. Just thaw and assemble before serving to enjoy fresh flavors anytime.
When storing, layer the chocolate and mint mixtures separately for easier assembly later. Keep the whipped cream mixture in a sealed container to maintain its airy texture. If you find it has deflated slightly upon thawing, a quick re-whip can restore its fluffy consistency before layering.
Scaling the Recipe
This recipe is easily scalable depending on your needs. If you want to make a larger batch for a party, simply double or triple the amounts for each layer. It's best to work in batches to ensure even consistency, especially when melting chocolate or whipping cream. If you're making a smaller quantity, consider halving the ingredients and using smaller cups for delightful single-serve treats.
As you scale the recipe up or down, pay attention to the setting times in the refrigerator. Larger servings may require a few additional minutes to set properly, while smaller servings might set quickly. Aim for visual cues, such as firmness of the chocolate layer, to determine readiness for layering.
Alternative Flavors
While chocolate and mint are a classic pairing, experimenting with different flavors can create exciting variations. For example, substitute the chocolate layer for a rich caramel or butterscotch mixture for a decadent twist. Mixing in crushed raspberries or a raspberry puree into the mint layer can also add a refreshing fruitiness that complements the creaminess.
If you are a coffee lover, consider adding a shot of espresso or coffee extract to the chocolate layer for a mocha flavor. The bitterness of coffee can enhance the richness of the chocolate while still allowing the mint to shine through. Explore these suggestions to tailor this recipe to your taste preferences and impress your guests!
Questions About Recipes
→ Can I use milk chocolate instead of dark chocolate?
Yes, milk chocolate can be used, but it will result in a sweeter flavor. Adjust peppermint extract for balance.
→ How long can I store the dessert cups?
These cups can be stored in the refrigerator for up to 3 days. Keep them covered to maintain freshness.
→ Can I make these dessert cups dairy-free?
Absolutely! Use dairy-free chocolate and coconut cream for the whipped layer to create a dairy-free version.
→ What can I substitute for peppermint extract?
If you don't have peppermint extract, you can use spearmint extract or even omit it for a chocolate-only flavor.
Chocolate Mint Dessert Cups
What You'll Need
For the Chocolate Layer
- 1 cup dark chocolate chips
- 1/2 cup heavy cream
- 1 tsp peppermint extract
For the Mint Layer
- 1 cup whipped cream
- 1 tsp peppermint extract
- Green food coloring (optional)
For Garnish
- Fresh mint leaves
- Chocolate shavings
How-To Steps
In a microwave-safe bowl, combine the dark chocolate chips and heavy cream. Heat in 30-second intervals, stirring until melted and smooth. Stir in the peppermint extract. Let this mixture cool slightly before layering.
Spoon the melted chocolate mixture into serving cups, filling them about halfway. Allow the chocolate layer to set in the refrigerator for about 10 minutes.
In another bowl, combine the whipped cream, peppermint extract, and green food coloring if using. Mix until well combined and fluffy.
Once the chocolate layer has set, add a generous layer of the mint mixture on top of the chocolate. Smooth out the tops with a spatula.
Top with fresh mint leaves and chocolate shavings. Enjoy your Chocolate Mint Dessert Cups immediately or chill in the fridge until ready to serve.
Extra Tips
- For an extra burst of mint, consider topping each cup with a drizzle of dark chocolate or a sprinkle of crushed mint candies.
Nutritional Breakdown (Per Serving)
- Calories: 380 kcal
- Total Fat: 26g
- Saturated Fat: 15g
- Cholesterol: 195mg
- Sodium: 85mg
- Total Carbohydrates: 32g
- Dietary Fiber: 3g
- Sugars: 24g
- Protein: 6g